

Mini Excavator for Sale in Australia? Measure the Tipper Before You Buy
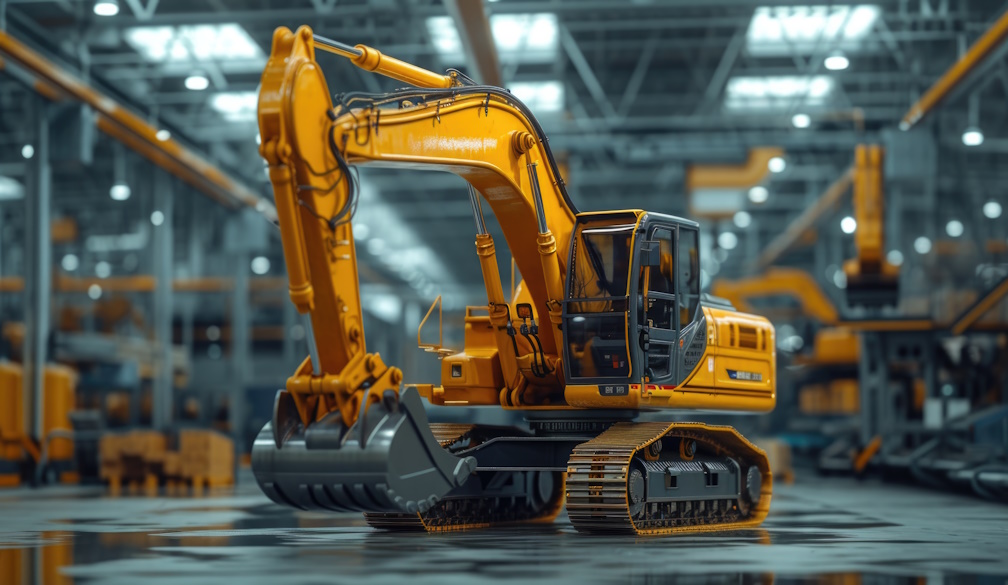
The most expensive 200 millimetres on a job can be the empty air between a full bucket and the top of a tipper.
The trench is finished. The spoil is ready to leave. Then the bucket rises, curls and stops just short of clearing the sideboard. What looked like a productive little excavator is suddenly building a pile beside the vehicle, waiting for another machine or turning a simple load-out into hours of awkward repositioning.
This is an easy problem to miss while searching for a **mini excavator for sale in Australia**. Buyers naturally compare purchase price, operating weight and digging depth. Yet if the machine will regularly load soil, mulch or rubble, the receiving vehicle may reveal more about the right excavator than the trench does.
Before choosing the machine, measure what it must load.
Begin with the vehicle already in the driveway
A tipper, ute tray, trailer or skip bin is not just somewhere for material to land. Its dimensions shape the excavator’s working cycle.
Start with the vehicle most likely to receive spoil and record:
- Height from the ground to the top of the sideboard
- Height with any hungry boards, mesh sides or covers fitted
- Width of the opening available to the bucket
- Whether loading normally happens over the side or through the rear
- Position of mudguards, headboards and hydraulic gear
- Ground clearance and where the wheels prevent the excavator from sitting
- The space available beside the vehicle for the excavator and spoil pile
- Any difference between the vehicle sitting empty and loaded
Take the measurements on the actual vehicle. A model description found online may not reflect a custom tray, added sideboards, different tyres or a body fitted by another manufacturer.
The useful question is not “Can this excavator load a truck?” It is “Can it load this opening, from the position available on the sites I actually work?”
Maximum dump height is not the same as an easy loading cycle
A specification sheet may list a maximum dumping height. That number matters, but it should not be treated as the height of every comfortable, repeatable load.
Published figures are measured under defined conditions. The bucket fitted during the measurement, boom geometry, arm position and ground level can all differ from a buyer’s real setup. A bucket may technically clear an edge only when it is near the end of its movement, leaving little room to curl, place material neatly or tolerate uneven ground.
Ask for three different numbers or demonstrations:
1. The published maximum dumping height and how it was measured2. The height available with the bucket intended for day-one work
3. A practical loading position that can be repeated without operating at the edge of the machine’s envelope
No brochure can decide what “comfortable clearance” means for a particular vehicle and site. That judgement belongs in a physical demonstration, with the machine documentation and competent operating advice.
Recreate the sideboard at the inspection
There is no need to arrive at a machinery yard with a tipper if that is impractical. Bring the measurements instead.
Use a tape, a marked pole or a safe freestanding reference to show the sideboard height. Mark the approximate vehicle width on the ground and indicate where the excavator would be able to sit. Fit the bucket most likely to handle spoil and watch a complete loading movement—not just one high lift for a photograph.
Look for the whole cycle:
- Can the bucket clear the edge with useful margin?
- Can it curl and release material into the body rather than onto the sideboard?
- Can the operator see the receiving area?
- Is there enough reach to place material across the tray, or only against the nearest side?
- Does the machine need to sit unrealistically close to the wheels?
- Can it return to the spoil pile without constant track movement?
Repeat the motion several times. A position achieved once with an empty bucket may still be a poor daily workflow.
When comparing a current range of mini excavators, use the same height marker and the same bucket question for every shortlisted machine. Consistency makes the comparison useful.
The bucket changes the answer
Buyers often treat the excavator and bucket as separate decisions. For loading, they form one piece of geometry.
A narrow trenching bucket, a wide mud bucket and a heavier specialised attachment do not present material in the same way. Their shape, depth and connection to the hitch can change the space needed to curl and empty over an edge. A bucket that is excellent in the trench may not be the one that creates the smoothest loading cycle.
That does not mean buying a larger loading bucket automatically solves the problem. Wet clay, rubble and saturated soil can become heavy quickly. Bucket choice must stay within the machine’s documented limits and suit the material, ground and working radius.
Ask to see the actual day-one bucket on the actual machine. “It should be similar” is not the same as watching the combination clear a measured height.
Light material and wet clay are different buying conversations
Loading mulch on level ground is not the same task as lifting wet clay from the far side of a trench.
Material changes the weight in the bucket, how cleanly it releases and how the operator positions the machine. Sticky soil may not leave the bucket when expected. Rock can require more deliberate placement. Wet spoil can make a bucket that looks modest carry a much more demanding load.
Write down the material handled most often:
| Regular material | Question to bring to the demonstration |
| Dry mulch or loose soil | Can the bucket place a useful volume efficiently? |
| Wet clay | Does it release cleanly, and is the chosen bucket appropriate? |
| Mixed rubble | Can material be placed without striking the body or tailgate? |
| Gravel | Can the operator spread the load rather than pile it in one spot? |
| Green waste | Is an excavator bucket even the right tool for the usual material? |
The final question is important. If most work is loading bulky material rather than digging, another machine type or a two-machine workflow may be more sensible. A purchase-intent article should help a buyer reject the wrong excavator as confidently as it helps shortlist the right one.
Ground level can steal the clearance seen in the yard
Machinery yards are usually easier places to demonstrate than real jobsites. The surface is open, reasonably level and clear of garden edges, drains and soft shoulders.
At a job, the tipper may sit on a driveway while the excavator is lower on soil. A cross-fall may stop the machine from sitting square to the vehicle. Soft ground may require more separation, and a retaining edge may keep the tracks further away than expected.
A 150 mm change in ground level can matter when the loading margin was already small. So can the distance lost because the excavator cannot approach the sideboard safely.
Photograph two or three common loading layouts and measure the height difference between the excavator position and the vehicle wheels. Bring the difficult example to the inspection, not only the ideal one.
Never create extra reach by building an improvised platform or working from unstable ground. Site setup, machine stability and operating limits must follow the manufacturer’s instructions and appropriate safety guidance.
Loading over the side and loading through the rear are not interchangeable
Side loading often offers a large opening, but the excavator may need more height and space beside the vehicle. Rear loading may reduce the edge height on some bodies, yet the tailgate, tow gear, ramps or restricted approach can create different obstacles.
Decide which method is realistic on normal sites. A wide suburban street, a narrow driveway and an acreage track may each force a different vehicle position.
If both methods are common, demonstrate both. Do not let a seller prove the machine against whichever arrangement happens to make the specification look best.
The goal is not to find one possible loading position. It is to confirm the position the buyer can repeat on paid work.
Decide how often loading really matters
Not every excavator needs to excel at loading a high-sided tipper.
If the machine will spend most of its life trenching on one property and spoil is moved occasionally, accepting a slower loading method may protect access, transport simplicity and purchase price. If nearly every job ends with several loads leaving site, poor load-over performance becomes a daily cost.
Estimate a normal month:
- How many jobs create spoil that must leave?
- How many loads leave each job?
- Is another loader normally present?
- Can the receiving vehicle be positioned close to the excavation?
- What happens when the excavator cannot clear the sideboard?
- Does that alternative add labour, hire, double handling or delay?
This converts loading height from an interesting specification into a business decision. The best machine is the one whose loading ability matches the frequency and value of the task—not automatically the one with the highest number.
A smaller machine may still be the better purchase
It is easy to reach the conclusion that more lift height always means a larger excavator. That ignores the rest of the job.
A bigger machine may improve reach and loading pace but lose access to residential sites, require a different transport setup or spend much of the month underused. A smaller machine may fit the profitable work perfectly while needing a lower-sided trailer, a different vehicle position or occasional support for large load-outs.
Compare the complete workflow rather than one specification. The Australian mini excavator cost guide can help organise purchase and ownership costs, while a broader mini excavator buyer’s guide can keep access, support and transport in the same decision.
Sometimes the cheapest solution is not a different excavator. It is changing the receiving vehicle. Sometimes the vehicle is fixed, and the excavator must be chosen around it. Put both options on paper before paying for either.
Send sellers a loading brief, not a vague enquiry
A useful written enquiry might say:
I need the excavator to load over a sideboard measuring approximately [height] mm. The vehicle is usually positioned [beside/behind] the machine on [level/sloping] ground. Regular material is [soil/clay/gravel/rubble], and I expect about [number] loads per week. Please confirm the published dump height, the bucket used for that figure and whether I can demonstrate the loading cycle with the proposed day-one bucket.
Send the same brief to every shortlisted seller. Comparable questions produce more comparable answers.
The five measurements to take before choosing
Before inspecting another mini excavator for sale, record:
1. Ground-to-sideboard height2. Width and length of the receiving opening
3. Difference in level between the usual vehicle and excavator positions
4. Closest practical distance between the excavator and vehicle
5. The bucket and material expected on normal jobs
Add one photograph of the most difficult regular layout. Those measurements may eliminate an unsuitable machine before price negotiations begin.
The last 200 millimetres should not be discovered with a full bucket hanging beside a customer’s tipper. Measure the receiving vehicle first, recreate the loading cycle and buy the excavator that completes the whole job—not merely the digging half of it.
*Specifications, lifting conditions, bucket combinations, site layouts and transport requirements vary. Confirm current written details, follow the manufacturer’s instructions and obtain appropriate operating, safety and compliance advice before purchase or use.*
